Learning Pixel Art 2
I was really busy since the first post about learning pixel art. I investigated many screenshots of other shmups to learn from them (many thanks to the huge review archive at www.shmups.com).
First of all: Most of these shmups look just amazing! I wonder if I ever will come close to any of these artists.
Second: No game used the hard edge style. So I tested how the red plane looks like without edges:

In my opinion the the old version looks better. But it may integrate better in the game without edges.
I played around with GIMP for a nice camouflage texture and different colors:

That was nice and did not take much time. Full of enthusiasm I set up a new blank canvas and drew the following… “thing”:
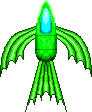
What the hell is that?
I really don’t know but it looked better while I was drawing it at closeup 🙂 It was a test for vehicles with organic shapes.
This last creation was so disappointing that I turned off all the graphics tools and started searching for more pixel art tutorials. It took several hours and these are the most important:
- Basics
- Coloring
- RPG stuff
- Old school logo
- Tutorial collection 1 (some dead links)
- Tutorial collection 2 (kick ass stuff!)
Following these tutorials step by step I started another try. Most games use very small sprites for their player vehicles. So I shrinked the canvas to 40×44 and created this one:
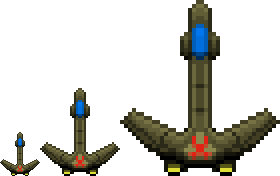
That’s not so bad, is it?
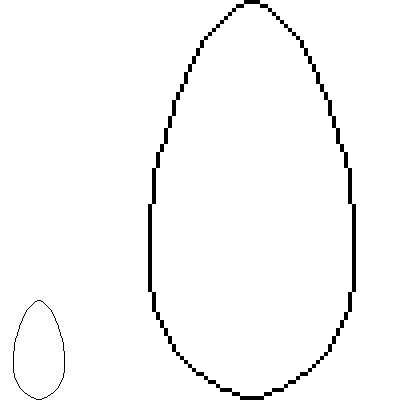
Finally I thought about vehicles that are a little more “steampunky”. To this point the sprites lacked the steam and brass flair. The usual Steampunk aviator has some kind of balloon ship. So I started a war Zeppelin. I’m going to show you how I made it, step by step.
The outline of the balloon:
First I used a clean black line for the balloon outline.
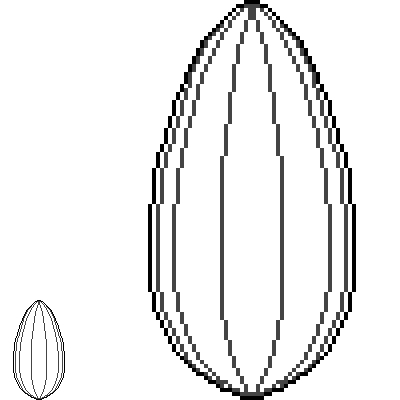
Inner edges:
Then I added the edges inside the balloon shape with a different color (dark grey). The lines are symmetrical. This symmetry will save a lot of work in further steps.
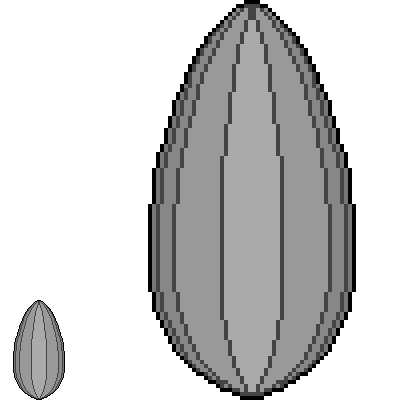
Basic color:
As a basic color I used an average grey tone (RGB = 128, 128, 128). This is useful for coloring the sprite later.

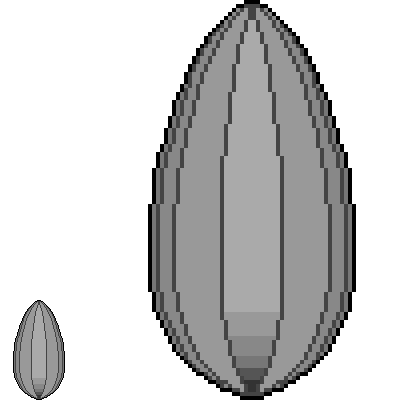
First shades:
I declared the light to be centered above the balloon. Therefore I darkened the side segments. The more a segment is aside the darker it gets. I shaded just one side and mirrored it to the other side. This is only possible when the light source lies on the symmetry axis of the sprite.
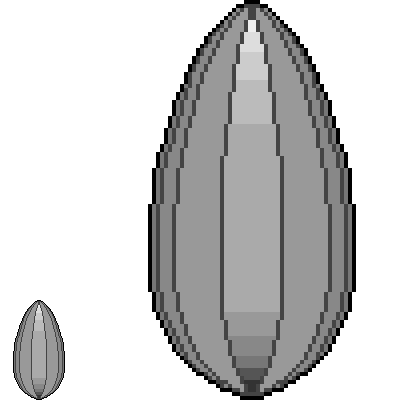
First shadow gradient:
Further the light source was declared north of the sprite. Therefore the south gets darker. The gradient supports the curved balloon shape. Here I just drew the gradient for the middle segment.
First highlight gradient:
The opposite was done for the northern end of the balloon.
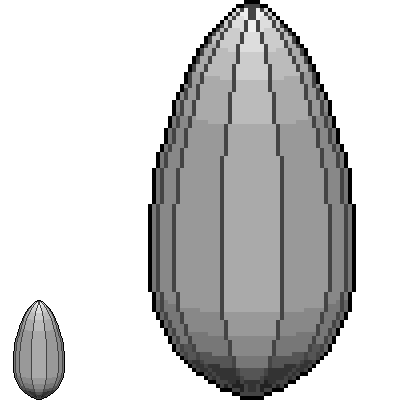
Shading the other segments:
Here I distributed the gradients of the middle segment to the other segments. The balloon gets darker on the side segments so the gradients have to get darker to. After drawing the gradients left I mirrored them to the right side.
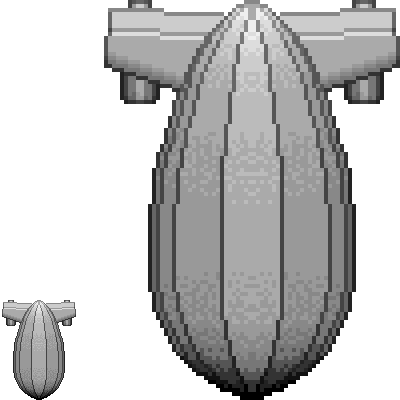
Dithering:
Dithering is a trick for giving a surface a smoother look. I just placed the dithering pixels randomly.

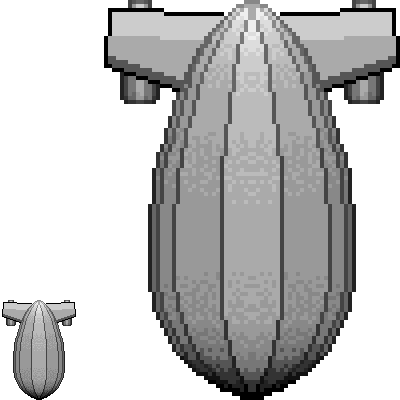
Shading the edges:
The surface between the edges got shaded. After this I applied the surface gradients to the black edges. They are still darker than the surface for keeping the edge character. The mirror trick is applicable but destroys the asymmetry of the dithering.

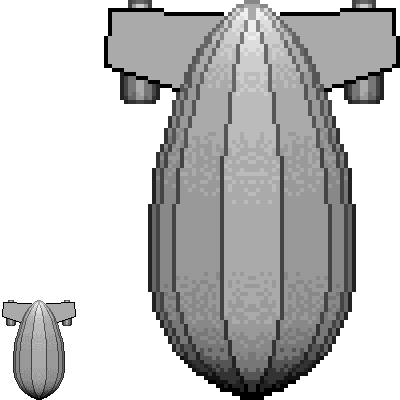
Turbines:
Here I gave the Zeppelin its turbines. They were made the same way as the balloon: outline – vertical gradient – horizontal gradients – dithering – edge shading.

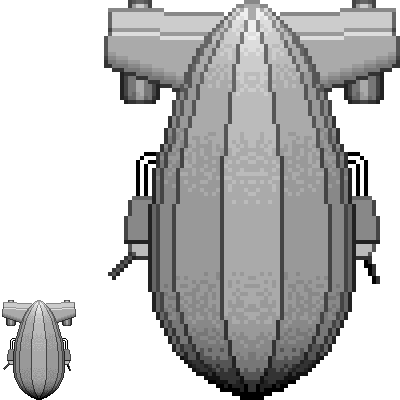
Wings:
The Zeppelin needed wings to mount the turbines onto. So I drew a simple wing shape and mirrored it. I stretched the turbines for jutting out below the wings.
Wing profile:
Here I set the base for shading the wing profiles by beveling them: a darker color south, a brighter color north.
Smoothing the wing profiles:
The southern wing edges got a fluent gradient for a roundish appearance. The northern edges were left flat but received additional joint shades.

Shading the wing edges:
The same procedure as used for the balloon.
Make it a war machine:
What would a shmup sprite be without guns?
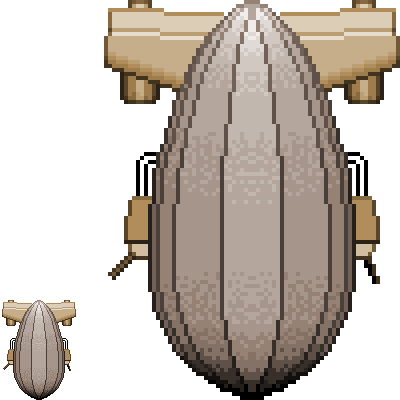
Steampunk coloring:
Tools like Photoshop or GIMP (and even Graphics Gale) make it easy to color greyscale graphics. Steampunk graphics often use grey and brown tones. So: here is the final result:
I hope you enjoyed this “built-in” tutorial. If you know any hints, tricks or good tutorials for pixel art: Please let me know.
Cheers,
Thomas